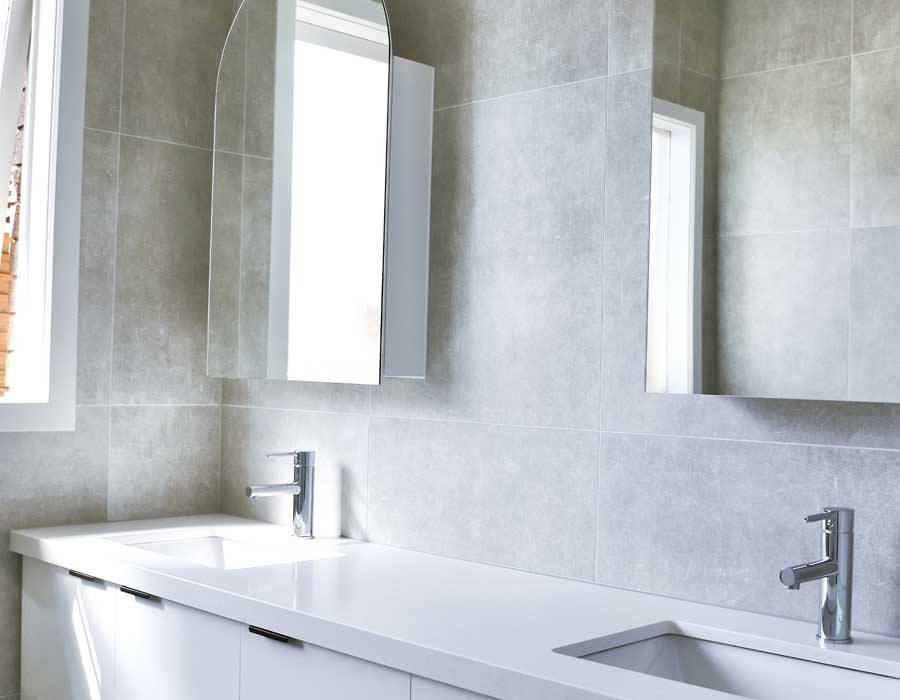
The bathroom certainly occupies an important place in every house or apartment. It is not just simple aesthetics, it is a room with a special atmosphere that requires close attention to detail. A small mistake at the initial stage can lead to significant consequences, both in terms of functionality and financial costs. This is especially relevant, for most bathrooms.
Reasons for a bathroom renovation can range from moving into a new house or apartment to expanding family needs or simply updating outdated infrastructure. Regardless of the reason, the foundation of a successful renovation is careful planning. The desire to get to the job done right away can be very strong, especially when there is excitement about a new purchase or the prospect of a new look. However, without a clear bathroom renovation checklist, the renovation process can become a maze of problems, unforeseen expenses, and frustration.
Proper planning involves more than just choosing the right tiles or fixtures. You need to anticipate potential problems, understand the needs of the household, and ensure that the end result matches what was envisioned. This includes taking into account the bathroom’s unique microclimate, ensuring that new fixtures are installed comfortably and functionally, and determining if old pipes and fixtures need to be replaced.
1. Finding the right builder and planning the project
Bathroom remodelling is not just a walk in the park, especially when it comes to the many stages of a bathroom renovation. The first and perhaps most important step is finding the right renovator and drawing up a detailed project plan.
For those with the time and technical skills, the DIY route can be tempting. However, it takes more than just enthusiasm to undertake a renovation, especially in a room as important as a bathroom. It requires a good understanding of plumbing, tiling and electrical work. If you doubt your abilities or feel out of your depth, it may be worth looking for a professional bathroom renovator.
Once you have decided on a team, you should dive headfirst into budgeting. Unlike the predictable outcome of a footy game, there is no fixed price in a renovation. Instead, it is determined by individual preferences and needs. Consider what type of renovation you’re aiming for. A simple or comprehensive renovation? Decide on finishes and basic materials, and if you have a design project at hand, it will help simplify the costing process. If design is not your forte, turn to interior designers. They know how to put ideas on paper, ensuring your vision is clearly communicated to the team.
Anticipate potential costs and problems to avoid unpleasant surprises. In the end, careful planning at this initial stage can pave the way for a smoother renovation and you’ll be pleased with the end result.
2. Preparation work
The preparatory phase of a bathroom renovation is an important part of the start of all work. It lays the foundation for all subsequent stages and ensures that each subsequent task is completed on a solid foundation.
First of all, it is necessary to determine the current state of the bathroom. These generally fall into three categories: new builds, where walls may not even be present; bathrooms provided by the builder with partial fittings; and old bathrooms in previously built houses.
For bathrooms in older homes, the first task is often demolition. Start by removing outdated plumbing and fixtures. Starting with the old plumbing fixtures, move on to removing worn wall finishes. Working on the walls may require the removal of outdated piping. Do not forget that this task should always be approached from top to bottom: first clean the ceiling, then the walls and finally the floor.
Next, furniture and furnishings should be removed. After that, you should start dismantling the equipment. For the time of repair, it is advisable to install a temporary toilet, connected with a flexible corrugated tube. For convenience of work in the evening or in conditions of insufficient light, equip the toilet with temporary lighting.
Safety first! Make sure the room is disconnected from power at the main switchboard and start removing electrical fittings and light fixtures.
Once the room has been cleared of debris, it is time to measure and pre-mark. This stage is extremely important to ensure optimal furniture installation and maximize the use of space.
If you are thinking of remodelling the bathroom, it is at this stage that you need to make a plan for it. Remember that any major structural changes require the appropriate authorization.
The preparatory stage is to take the bathroom apart bone by bone and ensure that the renovation goes smoothly and efficiently. It is at this stage that old bathroom renovation mistakes are corrected and a solid foundation for the new design is laid.
3. Walls and waterproofing
When repairing a bathroom, the choice of materials for walls is determined by their practicality. As a rule, preference is given to aerated concrete blocks or bricks. Brick walls are popular due to their compatibility with cement-based plaster, which is an ideal choice given cement’s resistance to moisture. When choosing aerated concrete blocks, it is essential to ensure that the entire bathroom is comprehensively waterproofed.
An invaluable tip at this stage is the use of beacons or guides. With their help, you can ensure the evenness of the surfaces and the perfect squareness of the corners at an angle of 90 °. Maintaining a vertical level for elevations and a horizontal plane for flat surfaces ensures a smooth and level base for subsequent finishing.
Plaster not only provides a smooth surface, but also serves as a protective layer against moisture and possible leaks. For a wet room such as a bathroom, these considerations are crucial. Proper wall construction and thorough waterproofing lay the foundation for a durable and aesthetically pleasing bathroom that will stand the test of time.
4. Electrical work
Once the plastering and waterproofing work is complete, it is necessary to move on to the electrical installation work, a crucial element in ensuring the functionality and safety of the bathroom. The project plan for the renovation specifies the exact location of outlets, thermostats for heating, switches, cables for lighting, leakage protection and general lighting fixtures.
A mandatory step is the integration of a secondary ground fault circuit, or in simple terms, an additional layer of ground protection. This protection extends not only to each electrical outlet, but also to all metal elements in the room. From water pipes, cast iron bathtubs, ceiling framing to the enclosures of ducts with collector systems, grounding these elements is paramount to preventing the risk of electrical shock.
Given the high level of humidity in the bathroom and the presence of a large number of appliances in the bathroom, the electrical panel should be designed for several dedicated circuits. Separate circuits are recommended for appliances such as washing machines, instantaneous or storage type water heaters, leak protection and other general purpose outlets. It is very important that the panelboard include protection mechanisms against possible current leaks and short circuits, which increases safety in this high-humidity area.
5. Plumbing fixtures and fittings
For those leaning towards installing a shower, one of the main challenges is the plumbing outlets in many apartment buildings. These can often be prohibitively expensive to adjust. Consequently, it’s not always feasible to align the shower base with the main floor level. The solution is to elevate it, creating a shower tray. These trays come in various styles and materials. In custom setups, after the appropriate elevation is established, a screed is poured, waterproofing is applied, and then tiles are laid atop.
When a bathtub is the choice, there are four primary materials to select from: acrylic, cast iron, steel, and cultured marble. Each has its benefits, but cultured marble shines for its impeccable geometry. This precision is vital for those keen on achieving a nearly seamless transition between the bathtub and adjacent tiles. Especially when constructing the tub’s facade, this material ensures that the connection between the tub and tiles is perfectly aligned, offering a sleek and modern look.
The art of bathroom remodelling goes beyond simple aesthetics. One of the cornerstones of a functional and durable bathroom is its plumbing system. Here we take an in-depth look at some of the most important elements:
Hanging toilets: Modern designs often favor hanging toilets over traditional models. Contrary to popular misconception, these units are reliable and maintenance is not as difficult as it seems. The simple removal of the flush button allows access to all component parts, just like standard toilets.
Bidet showers: A personal hygiene item in many cultures, the bidet shower is a versatile tool that can be used for a variety of purposes, from personal diapering to filling a mop bucket. Options range from faucets located next to the toilet bowl to faucets connected to a manifold.
Manifold Systems: Ever wondered how water pressure remains consistent when multiple outlets are active? That’s the work of a manifold, which houses individual valves for each consumer line in the bathroom. Should one appliance malfunction, like a kitchen mixer, its dedicated valve can be turned off, ensuring water supply remains uninterrupted elsewhere.
Pressure Reducing Valves: A crucial addition, these valves protect against high water pressures common in general supply lines. Not all mixers and hoses can handle excessive pressure. These valves help reduce a potentially harmful 6 atmospheres down to a more manageable 2 atmospheres, ensuring optimal water flow without risking damage.
Water Leak Protection: Underestimating the importance of leak protection is a perilous gamble. Anyone who’s experienced leaks and the subsequent distress of flooding neighbors below understands its non-negotiable status. Ensure proactive steps to prevent leakages for peace of mind.
Noise Insulation for Drainage: Builder-provided pipes are often thin-walled and economical, translating to significant noise, especially if you’re not on the top floor. Soundproofing becomes essential. While there are myriad options available, from automotive insulation kits to DIY hacks, it’s recommended to opt for specialized plumbing insulation. These dual-layered kits are adept at dampening both airborne and impact noises, ensuring tranquility isn’t compromised.
6. Floor Screeding in Bathroom Renovations
When refurbishing older properties or engaging in partial renovations, floor screeding isn’t always a given. However, in scenarios demanding it, a vital precursor is noise insulation. This layer, spread throughout the property, acts as a barrier against noise from neighbors below and above. Following this, the screeding process commences. It’s essential to account for the combined thickness of tiles, adhesive, and any underfloor heating layers during screeding. This ensures a level, robust base, optimizing the longevity and aesthetics of the finished bathroom floor. Proper screeding is the cornerstone of a flawless and enduring bathroom floor finish.
7. Tile Installation
Tile laying is an art that requires careful planning and precision. Today, large format tiles are often used in bathroom renovations. Using such large format tiles allows for a modern, seamless look that is ideal for contemporary spaces.
Before you start laying, you need to develop a layout diagram. This scheme defines the position of each tile, ensuring symmetry, reducing waste and confirming the perfect match of aesthetic patterns and designs. The need for tile trimming should not be overlooked. With large format tiles, each trim can result in significant material wastage, potentially affecting the budget.
Prices can vary greatly depending on the size of the tiles and the complexity of the desired pattern. Therefore, homeowners should be aware of the costs associated with the format and tile layout chosen. This forethought, combined with a well-thought-out installation plan, ensures a visually appealing result without unforeseen costs.
In essence, tile installation, especially large format tile, is a combination of skill, strategy and financial prudence.
8. Finalizing the Bathroom Space: Doors, Furniture, and Decor
In the intricate ballet of bathroom renovation, the installation of doors often heralds the culmination of the project. This strategy is rooted in wisdom: installing them last prevents potential damage from bulky fixtures or inadvertent mishaps. When selecting your bathroom door, consider options offering substantial sound insulation. Equally important is its aesthetic: the door should effortlessly merge with the overarching style of the room, serving as a harmonious transition rather than an abrupt boundary.
Following the door’s installation, the stage is set for the grand finale: introducing furniture, decor, and those finishing touches that breathe life into the space. Start by hanging the mirror a vital component in any bathroom. Opt for models boasting built-in lighting, which can lend an ambient glow. Mirrors with a heating element are an added boon, preventing the fogging effect of condensation. Once the mirror is securely in place, proceed to install shelves and cabinets. This is the moment to drape towels, hang curtains, and sprinkle the space with chosen accessories.
In essence, this final phase is about detailing. It’s the subtle infusion of personality and flair that turns an ordinary bathroom into your personal sanctuary.

