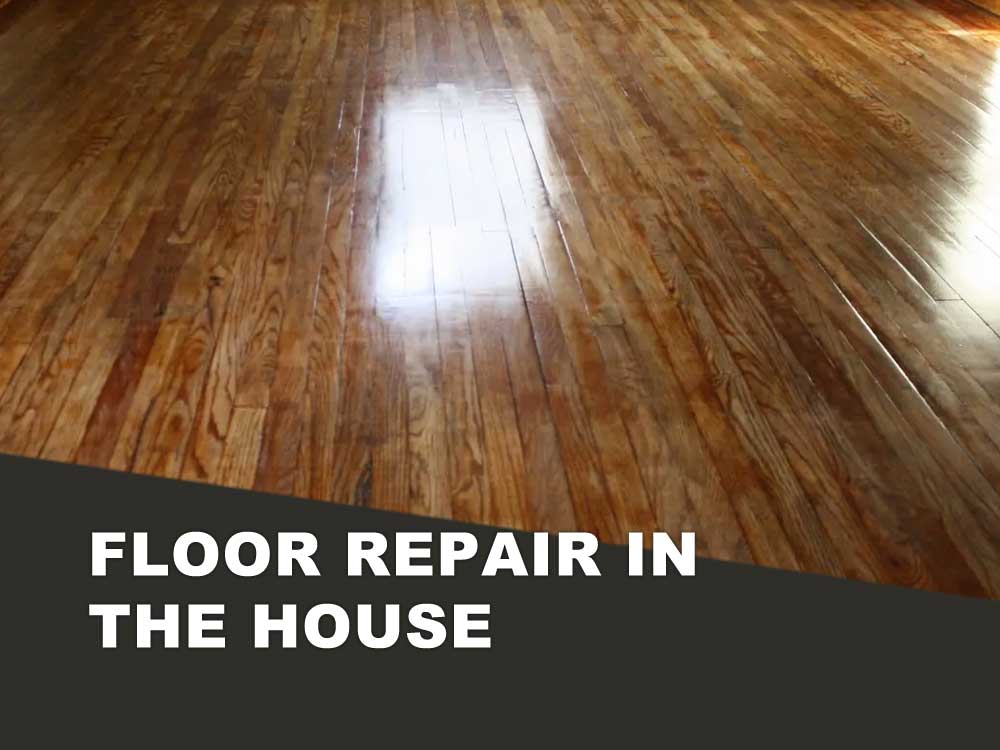
A wooden floor in the house has a lot of advantages and that is why it has been popular among people for decades. It not only looks aesthetically beautiful in the house, but is able to create a special atmosphere in it and perfectly maintainable. But no matter how well it is cared for, over time it needs to be subjected to preventive and sometimes repair work. Repair of the floor in a wooden house can be done with your own hands. How to do it, we have written in detail below.
Wooden flooring in the house over time loses its beautiful appearance. In view of the fact that such a coating is considered hygroscopic and is able to absorb moisture from the surrounding space, the wood swells. And, conversely, from the lack of moisture boards become brittle and brittle.
Carry out the repair of wooden floors with their own hands under everyone’s power. But to do this, you need to familiarize yourself with a number of technical subtleties that will allow you to cope with the task, even an uninitiated in construction person. Depending on the level of damage to the wooden floor in the house, repairs can be cosmetic and major.
Cosmetic floor repairs
Increases the service life of the wooden covering. Such repairs are appropriate if the boards are solid and do not require replacement.
Major floor repairs
Dismantling of damaged floor boards, as well as installation of new wood.
Before you start repairing, it is necessary to carefully inspect the entire surface for mechanical damage to hidden problem areas. Timely elimination of defects in the wooden floor will increase the service life of the coating. After a control inspection, you can properly oriented, what kind of repair you need to proceed – cosmetic or major repairs. Consider the most common defects in wooden flooring.
Rotten floor boards and their replacement
In order to properly determine the quality of the boards, it is necessary to knock each of them with a hammer. If there is a muffled sound, it directly indicates that the process of rotting begins in this board, and it requires replacement with a new one.
Dismantling unbonded board is simple, which cannot be said about the tongue and groove boards, which are fixed to the beam.
- De-energize the wiring in the house.
- Remove the ridge of one board with a narrow hacksaw or electric jigsaw.
- Lift up the other wood elements of the floor that need to be replaced.
- Install the new boards.
Cracks in the floorboards
Many people wonder how to repair a wooden floor in an old house, between the boards which have formed cracks? Let’s look at the steps of cosmetic repairs to fix the cracks in the wooden flooring.
Preparatory work
- Remove all elements of furniture from the room.
- Thoroughly clean, remove all dust and debris.
- Clean the cracks with a stiff brush.
To begin repairing problem areas, you must first purchase a special putty or prepare it yourself at home. To do this, you need to mix wooden sawdust with PVA glue to a thick slurry. So, let’s proceed to putty.
Repair work
Put the putty on the cleaned slots with a putty knife, free from dust and debris.
- Remove the excess putty with a spatula.
- Allow the putty to dry completely.
- Sand with fine sandpaper.
If the wooden flooring has large cracks that greatly spoil the appearance of the coating, the repair of wooden floors with their own hands involves a slightly different technology.
- Prepare cone-shaped wooden bars equal to the length of the crack.
- Apply adhesive mass and wooden sawdust to the bars.
- Mount the timbers into the slots with the sharp edge facing down.
- Grind the protruding parts above the floor level.
- Apply a varnish or coat of paint.
How to fix a floor and remove squeaks
Creaky floor – everyone is familiar with this problem without exception. Over time, the floor wears out and you can hear an unpleasant sound when walking under your feet. How to repair an old wooden floor and remove creaks? To effectively remove the unpleasant sound of the wooden flooring, experts recommend using the method of unscrewing.
So, let’s prepare the necessary tools:
- Hammer
- Steel stick
- Wooden wedges
Method 1
Carefully examine the floor and mark the areas where the boards rub against each other. In their space to hammer wedges, observing the distance between them 150 mm.
Method 2
Fasten the boards to the wooden beams with countersunk screws. To do this, you need to drill a hole in the creaking board, and then drive the screw and screw it into the beam. Putty the screws, and once the putty dries well, grind with fine sandpaper. Knowing how to repair old floorboards, everyone can remove defects and give the floor a new life.
A separate issue will highlight the technology of lacquering the floor, learn how to properly carry out reacquiring and wood tinting.
Repainting a wooden floor
In order to properly repaint an old wooden floor, you must pay attention to the quality of the old varnish coating. If the old layer of varnish is not wiped to the holes, it is not necessary to remove it. But if the floor has visible spots on which the varnish is almost gone.
First, the coating to sand by hand or with a special device. The grit of wood sanding sandpaper should be 100. Sanding the coating will get rid of a dirty layer of varnish and improve the adhesion of the new layer with the floor.
After sanding, remove all dust from the surface, which is formed in the process with a lint-free cloth or vacuum cleaner. Fill all cracks and crevices with a mixture of colorless varnish and sanding dust. Sand the caulked areas once more and remove all dust.
Then carefully apply 2-3 layers of varnish on the wood and wait till the wood is completely dry. Attention! If there is an old coat of paint on the wood, you should remove it with a sander. Remove the paint in the cracks with a scraper and seal it with putty.
Tinting your wooden floor
To make a wooden floor look spectacular and expressive, then experts recommend tinting. Preparatory work for tinting the floor is no different from those that should be carried out before applying a new coat of varnish. It should be remembered that the shade of the floor after tinting will change and depends largely on the porosity of the wood and the species of wood from which it is made.
To be sure of the final result, experts recommend staining a single board first. Apply the tinting composition flotex spatula. If the final result is not expressive enough, you can apply another layer of tinting. And in conclusion, cover the surface of the floor with a colorless varnish, which will give it a shine, durability and additional protection.
Conclusions
Now you already know how to repair wooden floors, remove the creaking of floorboards and caulk cracks. The work process does not require much knowledge, but it is important to adhere to the sequence of work, which will prevent the roughness of the coating, the formation of bubbles and streaks.